Have you scratched the wheels on your car? There’s not much more frustrating as a driver. It can be hard to find information about what to do if 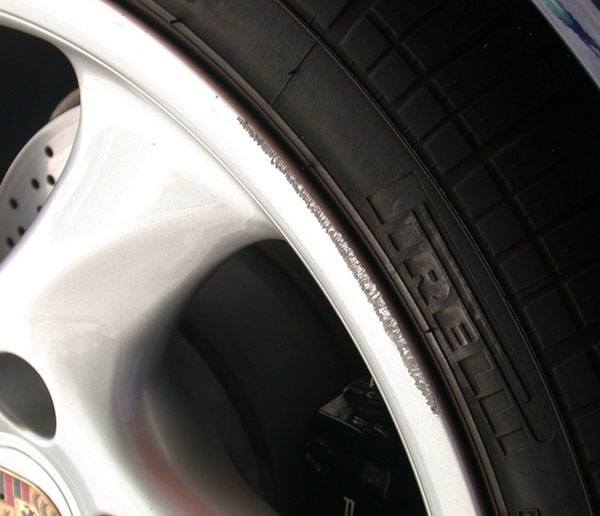 that happens even though there are countless tips on how you can keep the paint job and interior fresh. It seems silly that’s the case given how much damage car wheels are subjected to as part of urban driving. Parallel parking and going up and down the curb can really damage the rims on your wheels. Here’s how to repair your car wheels so you can save yourself a small fortune.
What You Need
- Scratch filling primer
- Wheel paint in the same color as your wheels
- Some clear lacquer
- Paint thinner
- Bondo Spot Putty
- 240 and 400 grit sand paper
- A roll of masking tape
What to Do
Step 1:
Start out by removing the wheel. If you’re going to leave it on then at least cover the care with a taped down piece of cloth to prevent paint splashing onto the car.
Step 2:
Next you need to clean the wheel using some soap and elbow grease. Use the paint thinner to clean only the damaged area. If you want to do a good job of repairing it then you need to get rid of any polish and wax so make sure you get stuck in with the paint thinner until it’s all gone.
Step 3:
After cleaning the damaged area you need to get the wheel ready for sanding. If you’re keeping the tire on then place masking tape over the area where the wheel and the tire meet. You might as well cover the tire to keep it safe from the paint while you’re at it. It’s annoying but trust us when we say that scraping off would be more annoying.
Step 4:
Sand down the damaged area using the 240-grit sandpaper. After you’ve sanded it down a little give the area a good wipe and apply the putty to the scrape. Don’t worry if you can’t get it all flat and smooth as you apply it to the damaged area. You’ll be sanding it down to get it just right. Use the 400-grit sandpaper on the putty after it’s dried out. You need to get the putty to feel flush to the original surface of your wheel. The best way to do that is a flat block.
Step 5:
If you haven’t removed the wheel from the car then at this point you definitely need to cover up any exposed areas that the paint shouldn’t touch.
This is when you need to bust out the scratch filling primer. Spray the repair area in the stuff and let it dry before sanding it down using either 400-grit sandpaper or something finer if you can find it. Apply some more putty if you need to and repeat the process. It’s vital that you use a rag to clean off any overspray after you finish spraying the primer and the paint. There’s no point in having the paint on anything but the damaged area.
Step 6:
Now it’s time to start painting. Make sure you read all the spray can instructions so you know you’re using it properly. It also helps to give the spray can a test run using scrap metal before attempting to paint something that you care about. Don’t forget to clean off any paint that goes outside of your work area.
Unless you really know your DIY you need to let the paint dry before attempting this next step. If you don’t you run the risk of lifting the paint and having to start from the beginning.
Step 7:
After the paint dries it’s time to apply the clear coat. You don’t need to wipe off any overspray from the clear coat.
And that’s it! Given that it only costs around $50-$60 to buy all of the things you need you’ve saved a fair bit of money by avoiding the body shop.